
Product Announcements
Feature Release: UVRM Infrastructure Vulnerability Reports
- Oct 28, 2021
- Guest Author
NopSec recently released a feature that makes it easy to obtain the information you need about the vulnerabilities in your environment. The feature is called Infrastructure Vuln Reports. At a high level, Infrastructure Vuln Reports has two capabilities that I will review in this blog post:
The Infrastructure Vuln Reports feature provides 3 components that collectively define the query that is used for reports:
You can see a screenshot of these components below.

Filters limit the returned data to a subpopulation of your organization’s total vulnerabilities. For this reason, filters are not required to build a query. You have the option to use as many filters as you require.
There are two categories of filters:
Asset filters relate to asset attributes. For example, you could limit the returned results to just those with the Linux operating system and/or those with the asset risk grade of D, which is the worst possible rating.
Vulnerability filters relate to vulnerability attributes. For example, you could return all vulnerabilities less than 30 days old and/or those with a vulnerability risk grade of Urgent.
For the Vuln Status field, you can choose between Open, Remediated, False Positive, and Risk Accepted.
To choose how the returned vulnerabilities are displayed, you can choose Group By options that include asset group, asset, vulnerability, and vulnerability instance.
The below scenario shows how easy it is to define queries using the Infrastructure Vuln Reports feature.
I want to obtain a list of vulnerabilities that meet the following criteria:
First, I am going to add a filter for asset criticality value as shown in Figure 2 below.
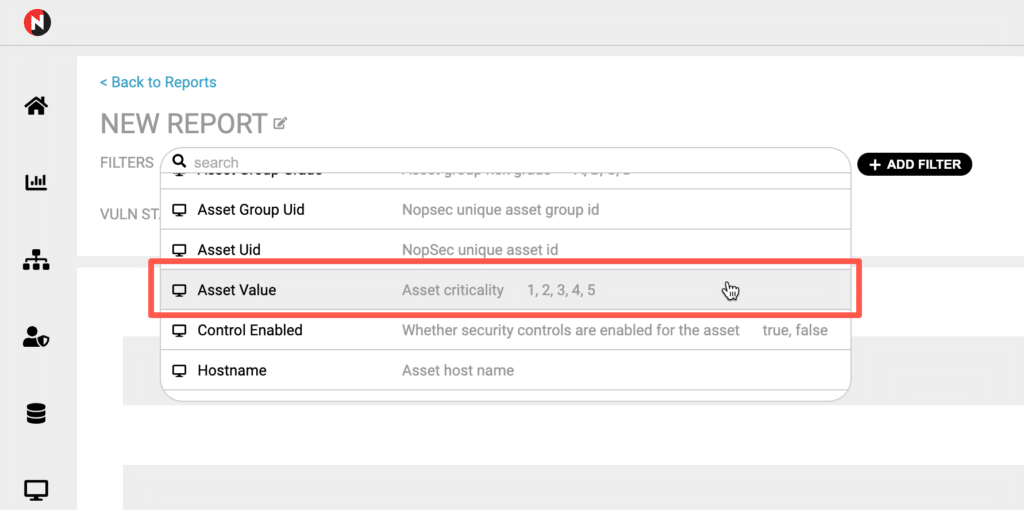
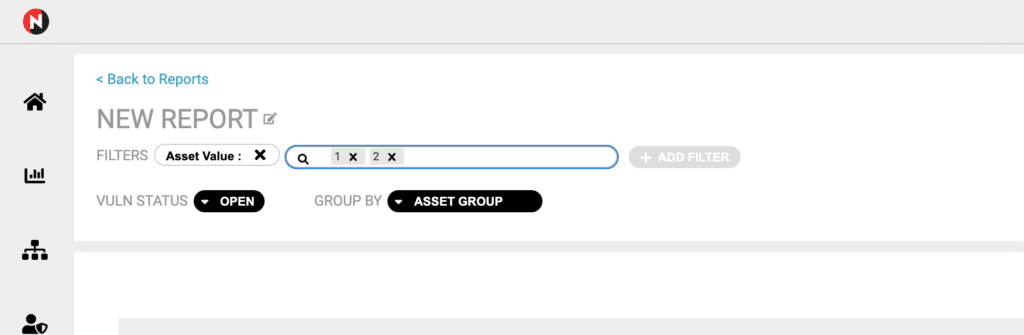
Now I will select values of 1 and 2 in order to focus on the most important assets.
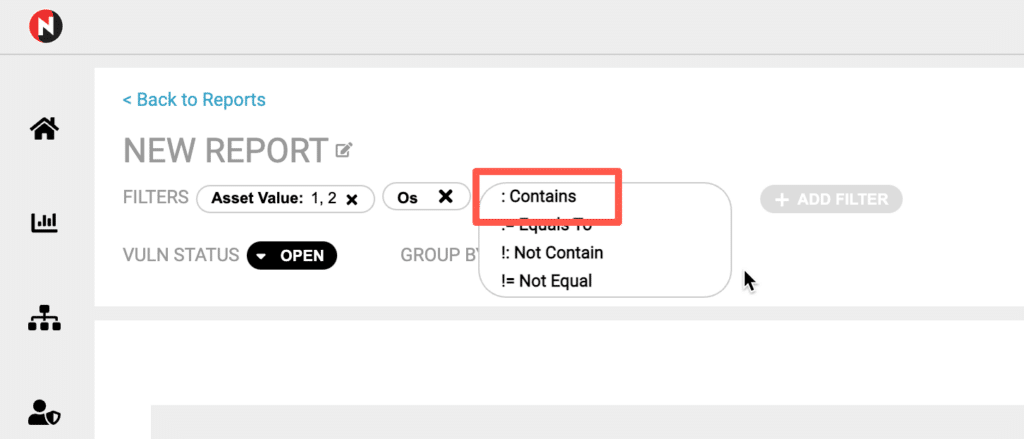
Next, I am going to add the operating system.
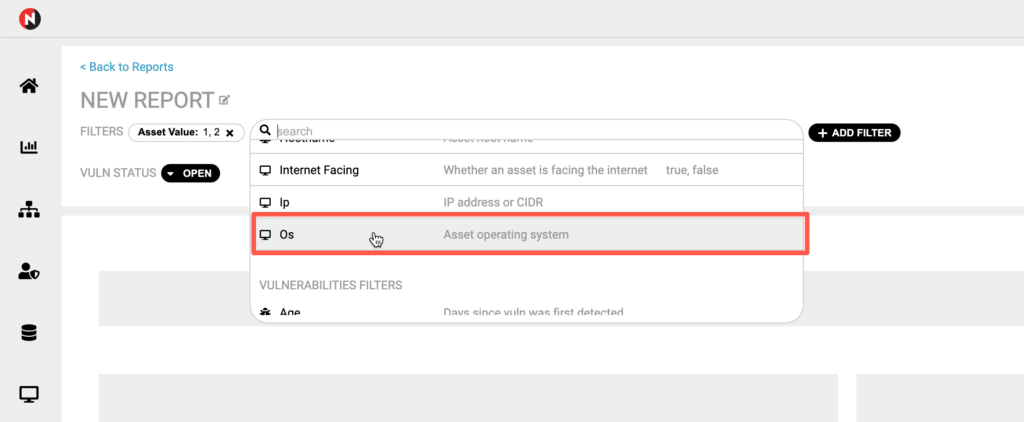
For the OS, I am going to select an operator of “contains.”
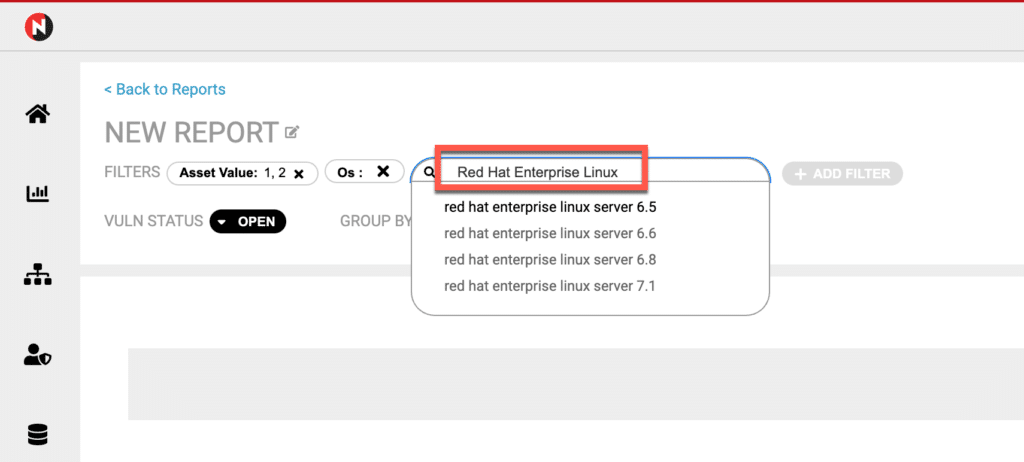
And then add “Red Hat Linux.” Rather than accept one of the specific values, I will just hit return to take the general search term of “Red Hat Enterprise Linux.”
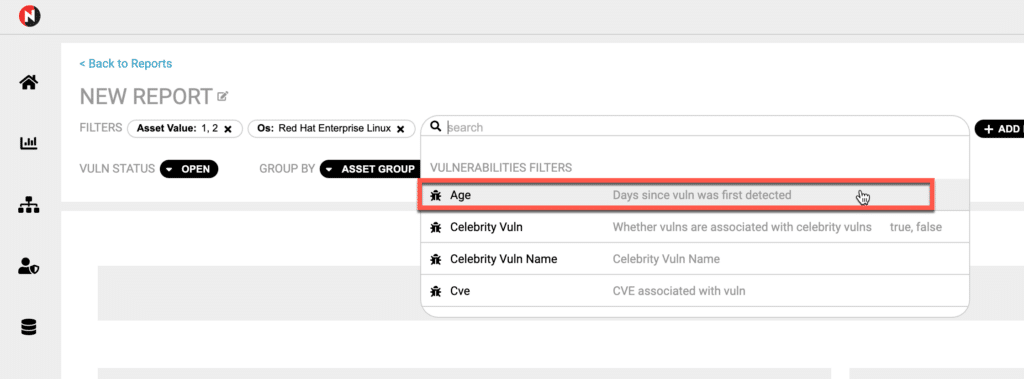
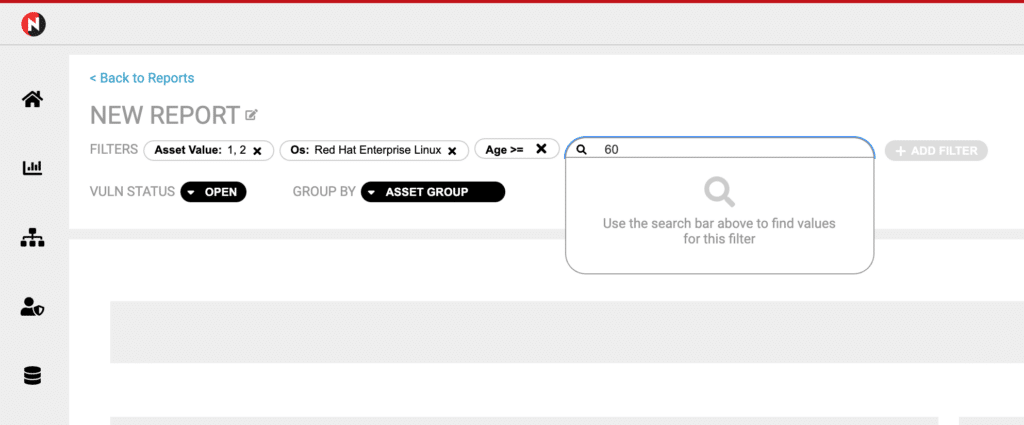
Now, I will add the age of the vulnerability at less than or equal to 60 days.
Select greater than or equal.
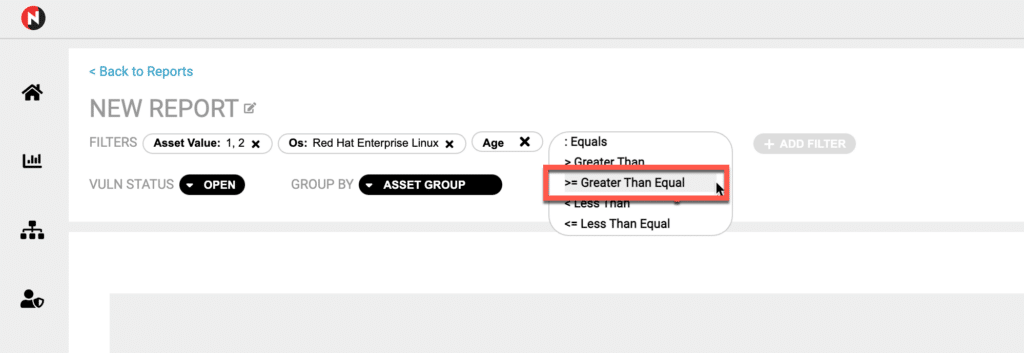
Type in 60 and hit return.
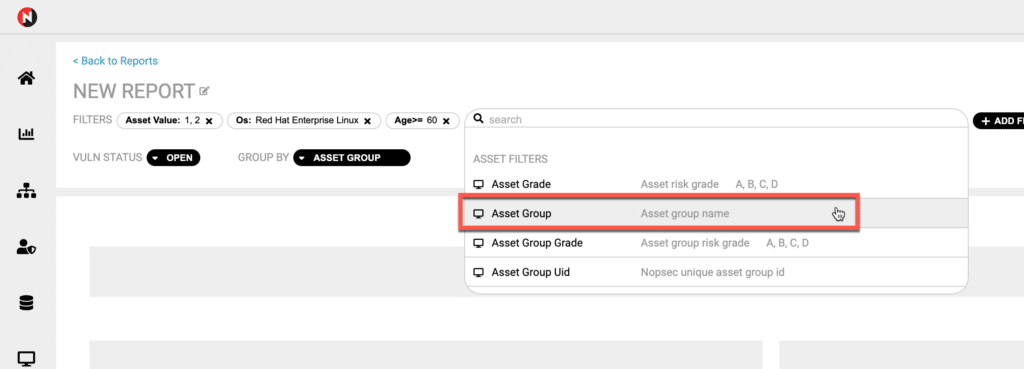
Add an asset group to the filter.
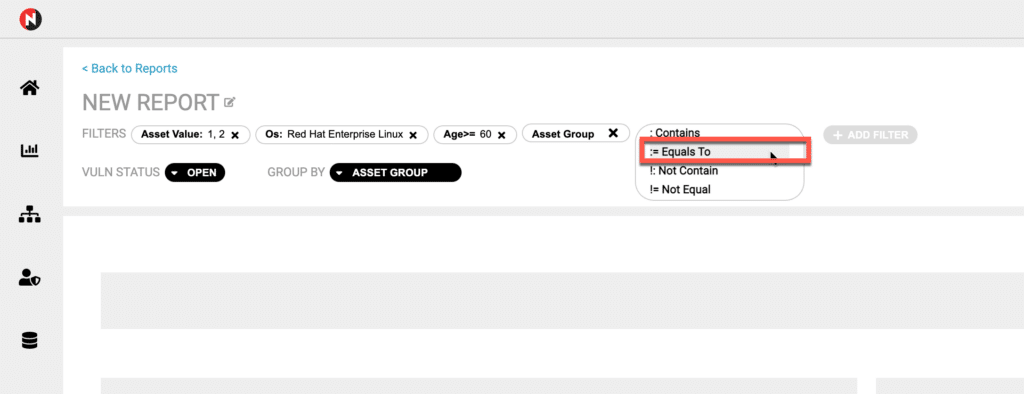
Select “equals to.”
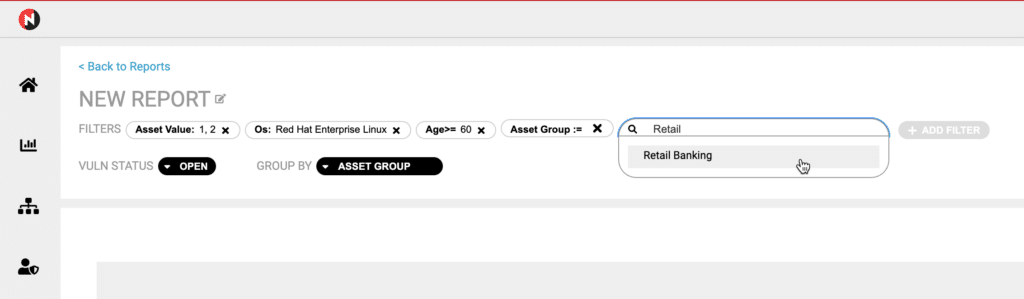
Start typing “Retail Banking” and then select the option below.
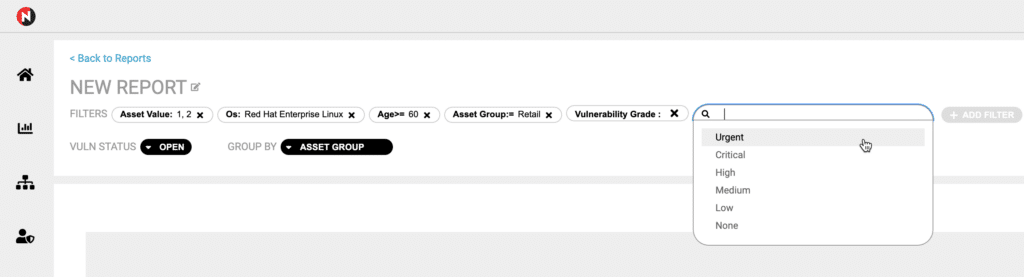
Choose Vulnerability Grade to pick risk level.
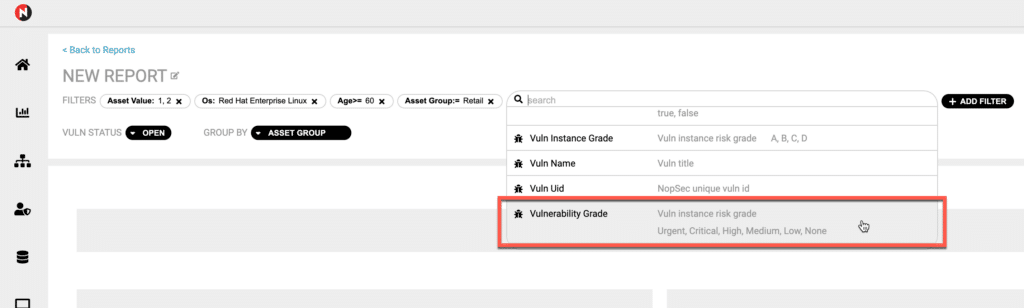
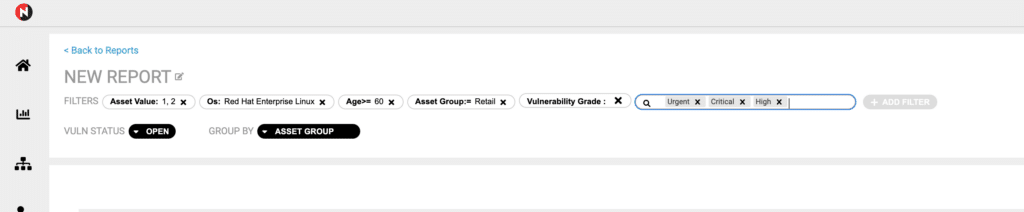
Choose Urgent, Critical, and High.
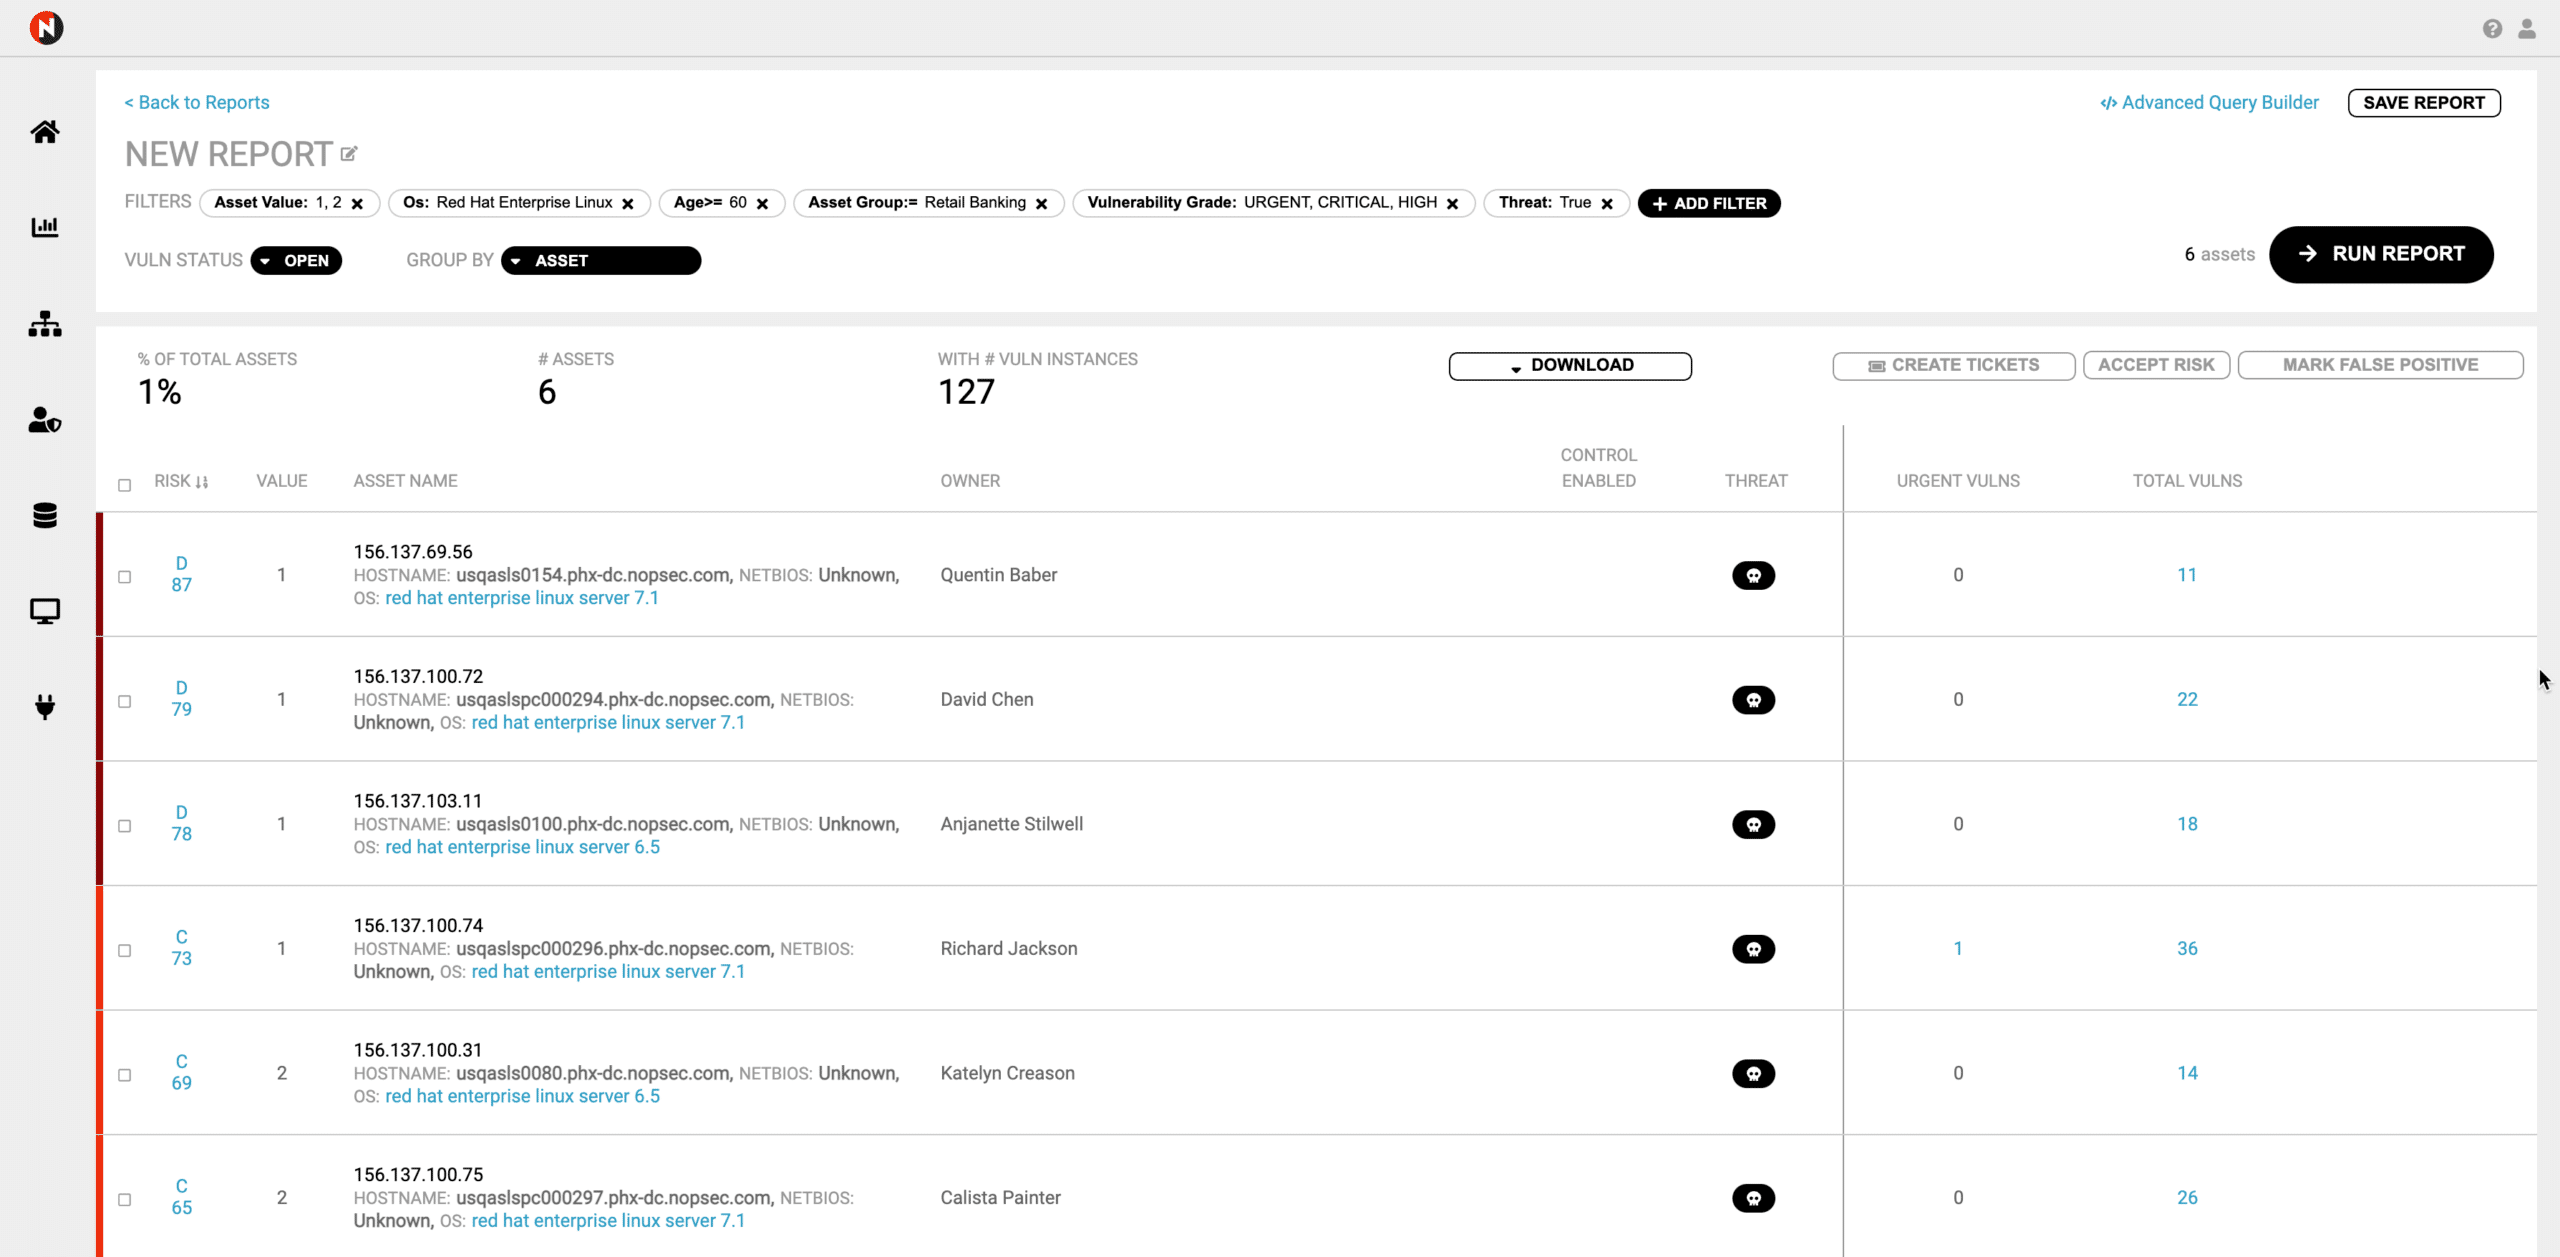
This leaves us with the below screenshot.
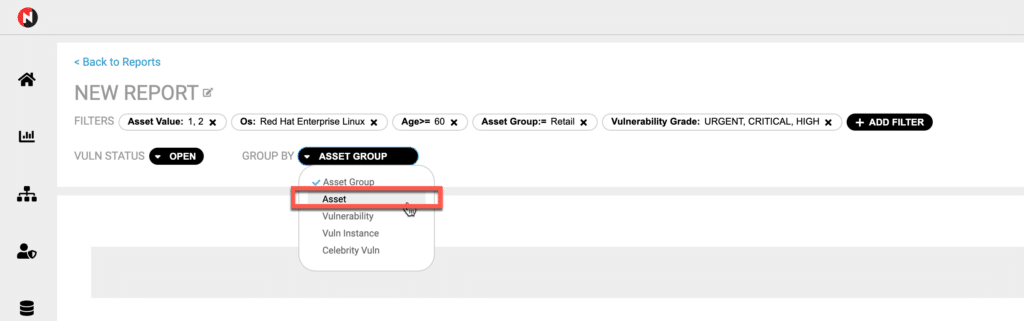
Now, we will accept the default Vuln Status of Open. We will group by asset since we want to see a breakdown of vulnerabilities that meet our criteria by asset.
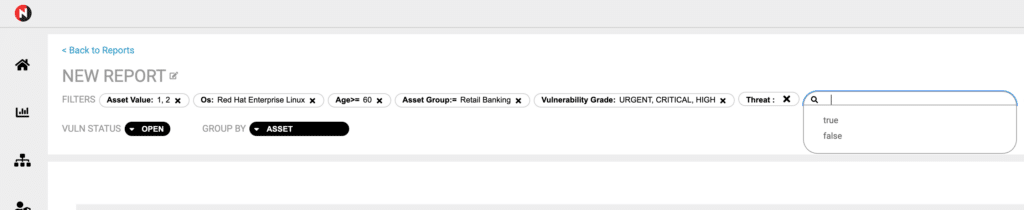
Now I will add a filter for threats so that I only show vulnerabilities with active threats against them.
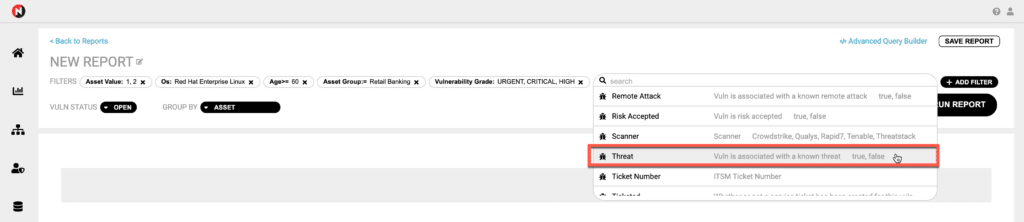
Next, I will choose True to focus on vulnerabilities that have active threats.
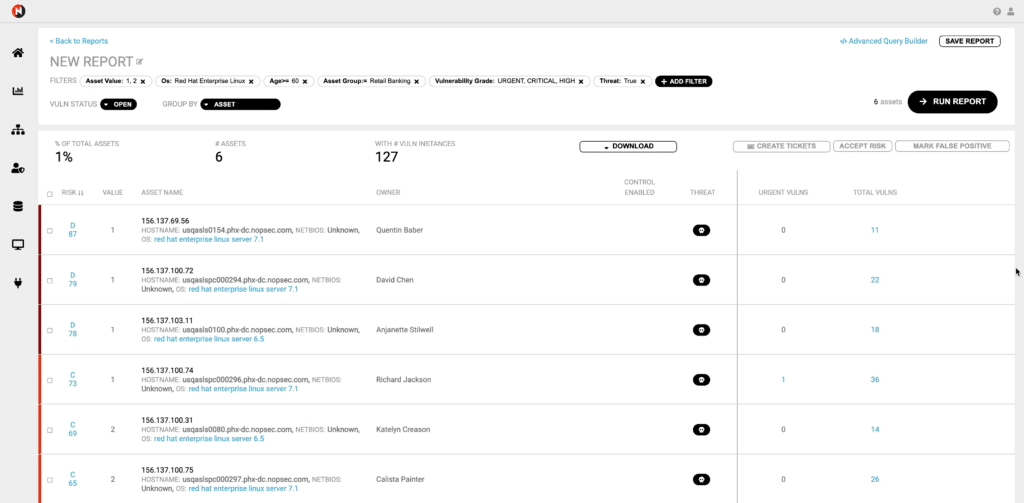
Now, I will run the report. Below are our results.
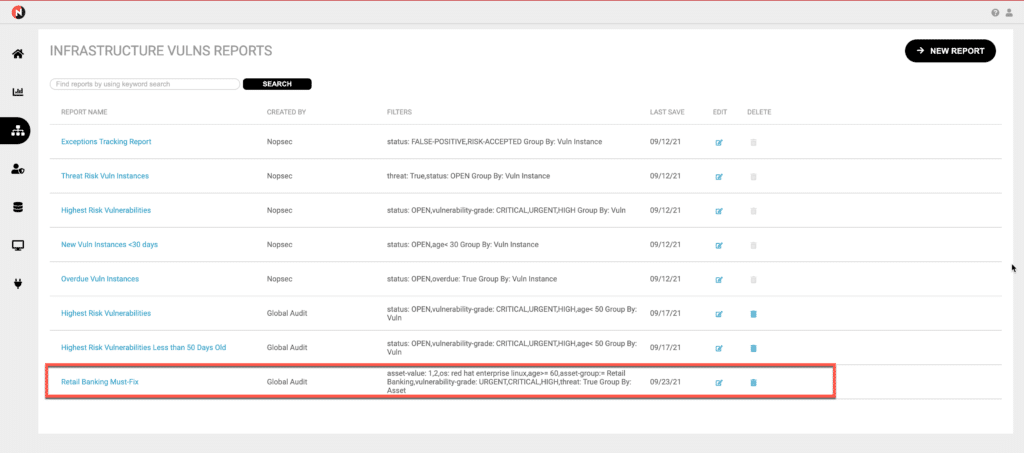
We have seen how easy it is to create a complex query in UVRM. Now, I can name the report and save it so that in the future I can just run the report without having to reconstruct the query. We’ll call this report Retail Banking Must-Fix and save it.
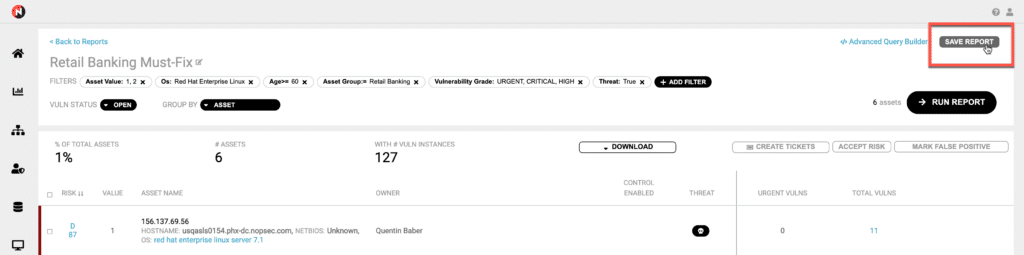
Now, we can see the report that I just saved.
You have seen how easy it is to create new reports in the Infrastructure Vulns Reports page and then to save the reports. Thank you for taking the time to read this blog post. Please do not hesitate to reach out if you have any questions. If you’d like to see this feature in action please reach out and schedule a demo today!
Every day I get tot talk to a lot of infosec professionals and business people regarding vulnerability management. They tell…
The other day I was thinking about the concept of “event correlation” embedded into various SIEM products. Security events can…
Some of you probably wondered where the NopSec crew and I ended up these days….already tired for blog writing? Not…